Water softeners are pivotal in ensuring water quality in our homes by eliminating the minerals contributing to hardness. While hiring a professional for installation is common, many homeowners opt for the do-it-yourself (DIY) approach to save on installation costs. This article provides a comprehensive guide for the DIY installation of a small water softener, empowering homeowners with the knowledge and confidence to undertake this project.
Understanding Water Softeners
Before diving into the installation process, it’s essential to grasp how water softeners work. These devices use ion exchange to remove calcium and magnesium ions, the primary culprits behind hard water. The softened water, free from these minerals, is then distributed for household use.
Tools and Materials
Tools
- Adjustable wrench
- Pipe cutter
- Tubing cutter
- Pipe wrench
- Screwdrivers
- Teflon tape
- Pipe-thread sealant
Materials
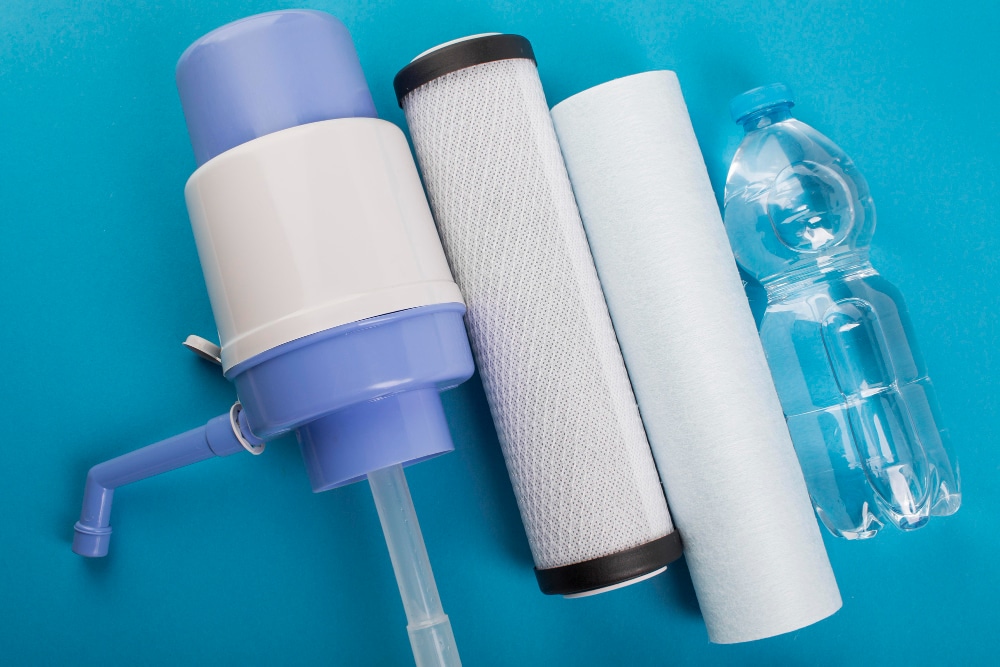
- Small water softener system
- Copper or plastic tubing
- Compression fittings
- Valves
- Drain tubing
- Pipe connectors
- Hose clamps
- Brine tank
Step-by-Step Installation Guide
Step 1: Selecting the Installation Location
Choose a suitable location for your water softener. It should be close to the water supply entry point and have access to a power source for the system’s regeneration cycle. Ensure the area is well-ventilated and complies with local plumbing codes.
Step 2: Shut Off Water and Power
Before installing, turn off the main water supply and power sources. This step ensures a safe and controlled environment during the installation process.
Step 3: Preparing the Water Softener
Assemble the water softener according to the manufacturer’s instructions. This typically involves attaching the brine tank, resin tank, and control valve. Ensure all components are tightly connected.
Step 4: Connecting to Water Supply
Use a pipe cutter to cut into the main water supply line. Install a valve and connect the water softener using either copper or plastic tubing, depending on your preference. Secure connections with compression fittings and ensure there are no leaks.
Step 5: Connecting to Drain
Connect the water softener’s drain line to an appropriate drain point. Use tubing and hose clamps to secure the connection and ensure the drain line is positioned to allow proper flow during regeneration.
Step 6: Bypass Valve Installation
Install a bypass valve to allow water to flow around the softener during maintenance or repairs. This ensures an uninterrupted water supply to your home when the softener is not in use.
Step 7: Electrical Connection
Connect the water softener to a power source following the manufacturer’s guidelines. Ensure proper grounding for safety.
Step 8: Regeneration Cycle
Initiate a manual regeneration cycle according to the system’s instructions. This primes the resin tank and prepares the water softener for operation.
Step 9: Check for Leaks
Turn on the water supply and power to the water softener. Monitor for any leaks in the connections. If leaks are detected, tighten fittings or reapply Teflon tape as needed.
Step 10: Program the Control Valve
Program the control valve based on the water hardness level in your area. This information is usually available in the user manual.
Tips and Considerations
- Read the Manual: Refer to the manufacturer’s manual for specific instructions and guidelines.
- Local Codes: Familiarize yourself with local plumbing codes to ensure compliance during installation.
- Water Hardness Testing: Conduct a water hardness test before programming the water softener for optimal results.
- Safety First: Wear appropriate safety gear and work in a well-ventilated area.
Installing a small water softener can be a rewarding DIY project for homeowners looking to improve water quality and save on installation costs. By following this comprehensive guide and adhering to safety measures, you can successfully set up a water softener system that enhances the water quality in your home, providing long-term benefits for you and your family. If you encounter any challenges or uncertainties, consulting with a professional plumber is always a viable option to ensure the system functions efficiently for years to come.
The Water Man Can Help
If you are still unable to install your small water softner in San Antonio, call The Water Man at (210) 664-1111. We are a leading water softener installation service provider in the area. Our team of experts can evaluate your needs, recommend the best water softener for your home, and ensure a seamless installation process.